Blender
Extruding & Scaling Faces
Create: 5/10/2014 Last Updated: 5/10/2014
- Extrude & Scale
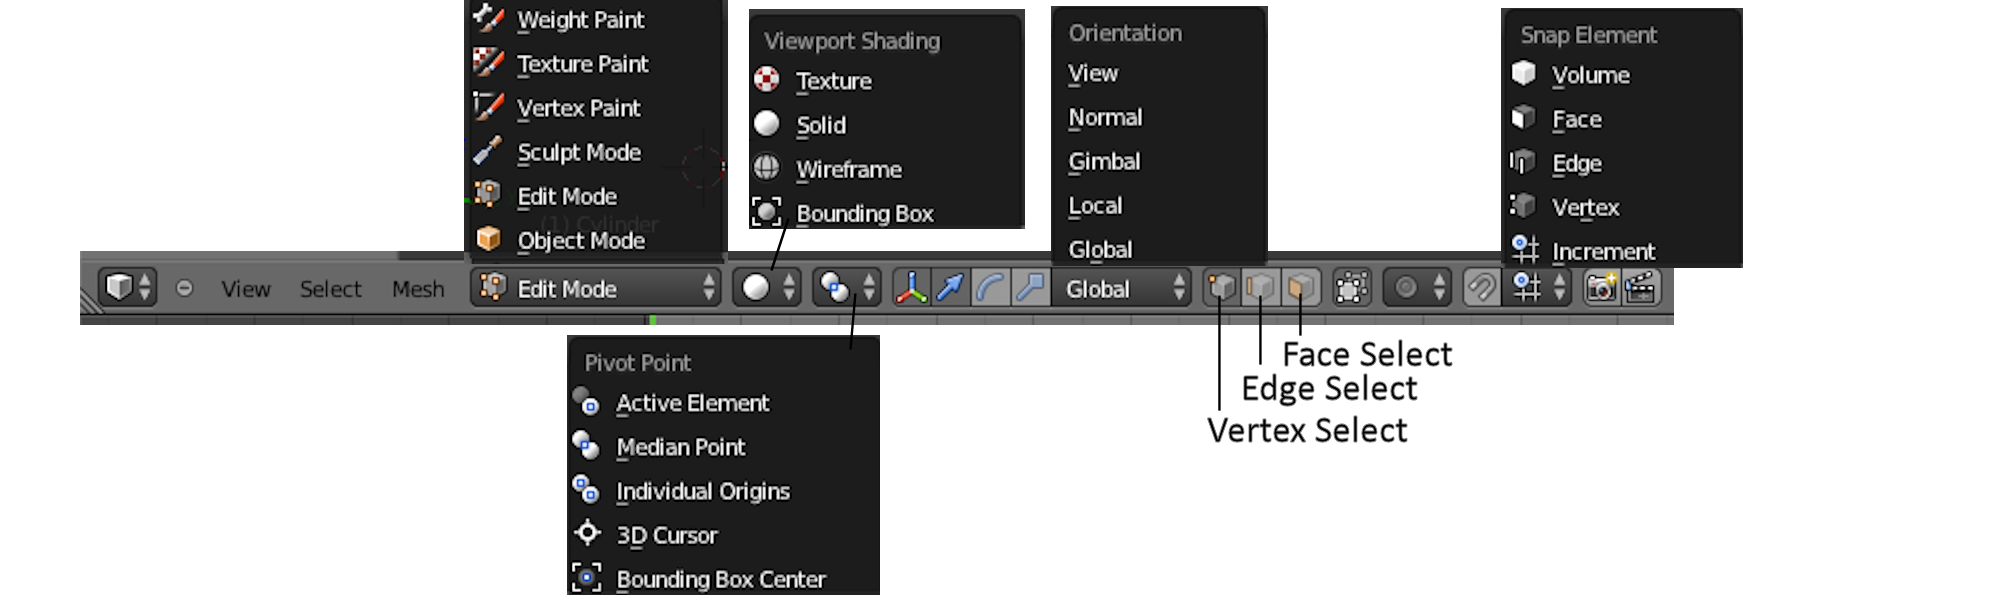
In Edit mode, select Face Select on the toolbar, then select one face (right click)
[Fig 1] and hit E.
This creates a new face over the existing face (along with the new vertices and
edges required to support it), which can then be moved up/down the normal by moving
the mouse [Fig 2].
A selected face (whether it was created with E or not) can be scaled by hitting
S and moving the mouse [Fig 3 & Fig 4].
By extruding a face, immediately shrinking it [Fig 4], then extruding in down into
the object [Fig 5], recesses and ridges can easily be created.
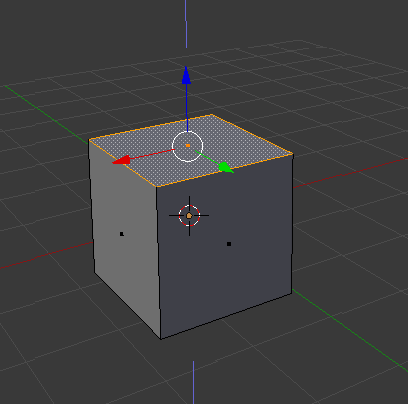 Fig 1 - One face selected
|
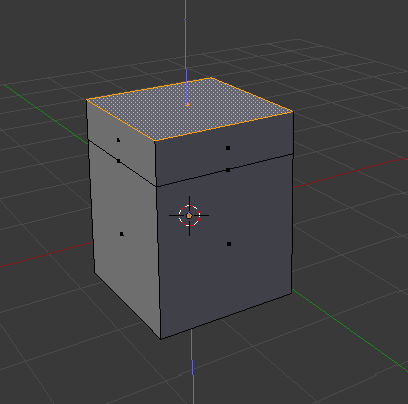 Fig 2 - E + Mouse extrudes face
|
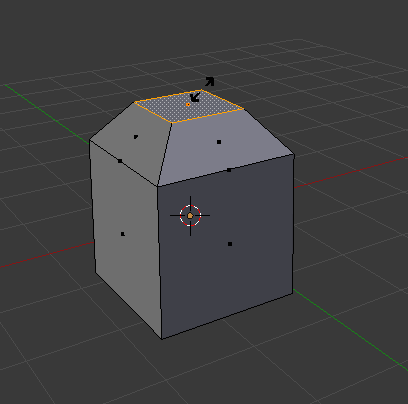 Fig 3 - S + Mouse scales face
|
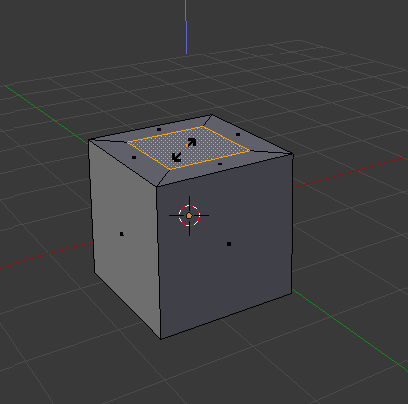
Fig 4 - Scaling without extruding creates
new faces
|
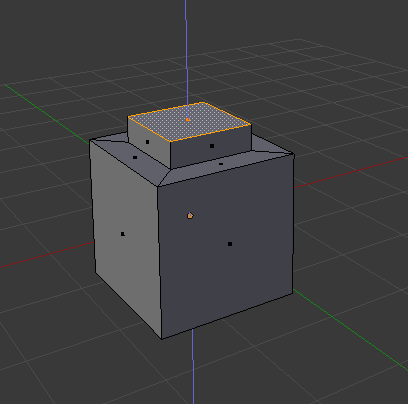
Fig 5 - Faces can be extruded outwards...
|
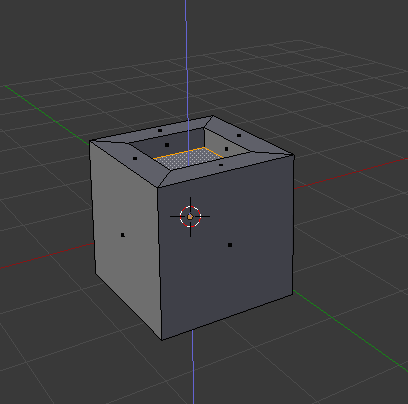 Fig 6 - ... or inwards
|
- Tips
- To create a new face at the existing face's height (typically as a prelude
to a scaling operation), press E then right click.
- To lock an operation to a particular axis, press X,Y, or Z.
UV Unwrapping
Authored: 5/10/2014 Last Updated: 5/10/2014
- Basics
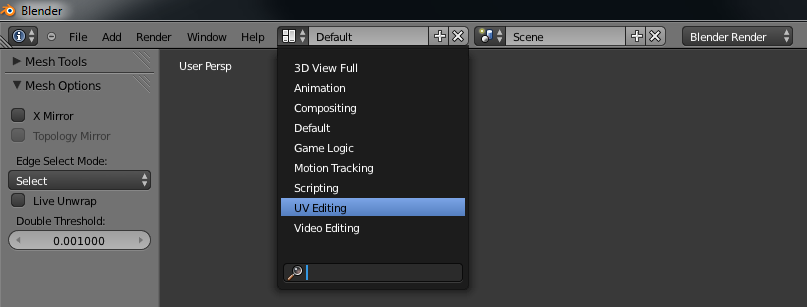
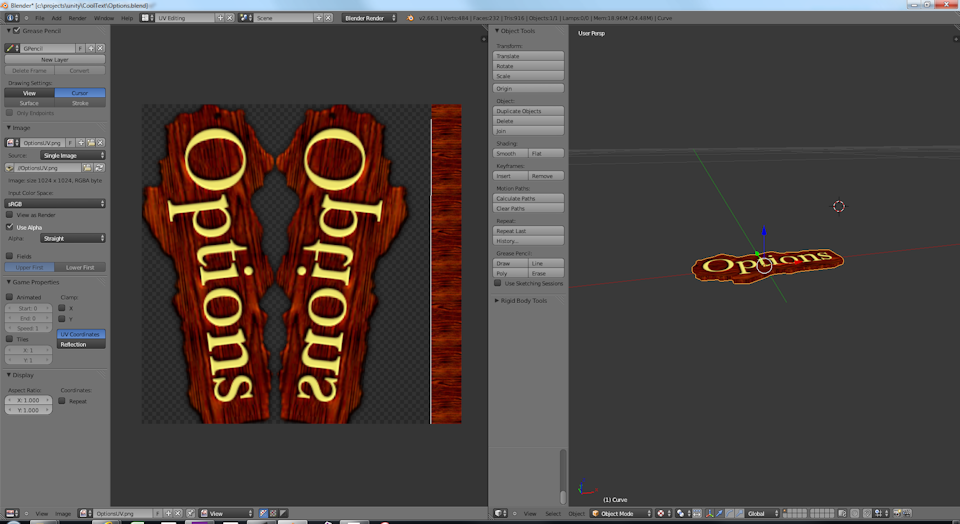
- Switch to "UV Editing" layout via the Screen layout dropdown on the main
menu bar:
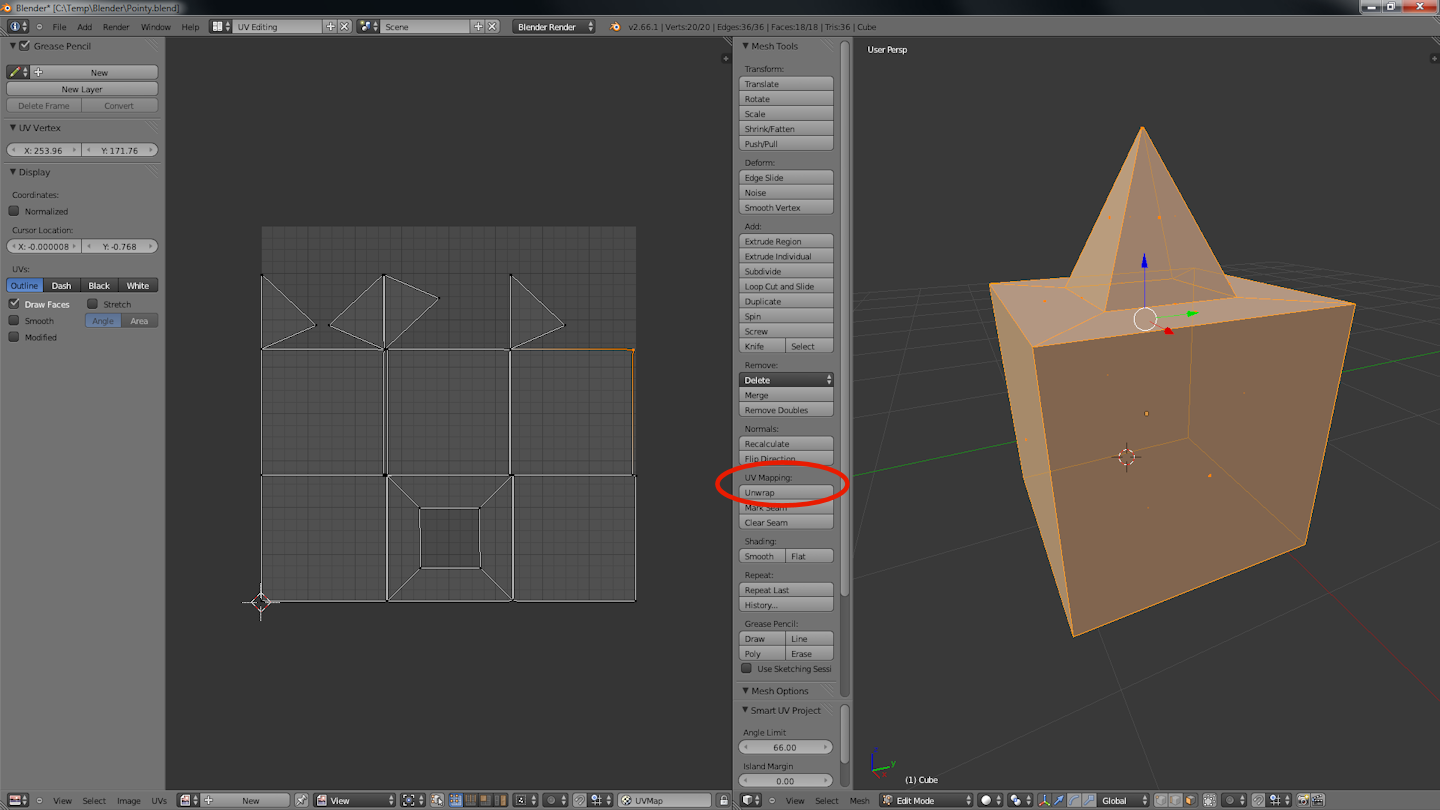
- Select all faces (hit A), then select Unwrap button from the UV Mapping section
in the
middle of the screen, select "Smart UV Project" from the menu, and OK.
If the UV Mapping option is not present, make sure the Mode dropdown on the bottom
right menu reads "Edit Mode"
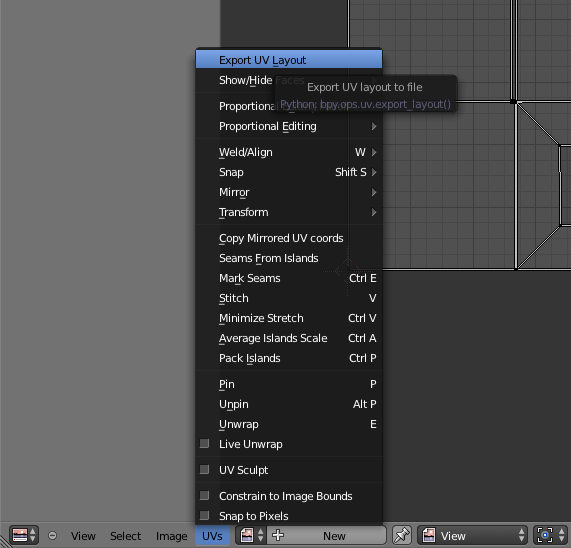
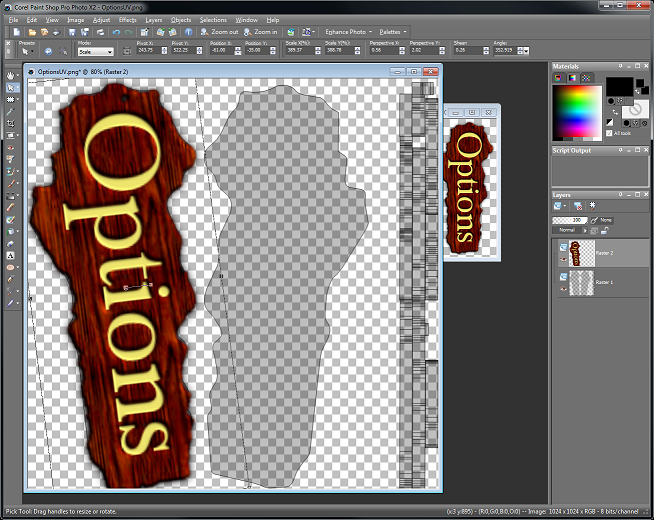
- To save the UV PNG, select "UV" from the bottom menu bar and then "Export
IV Layout".
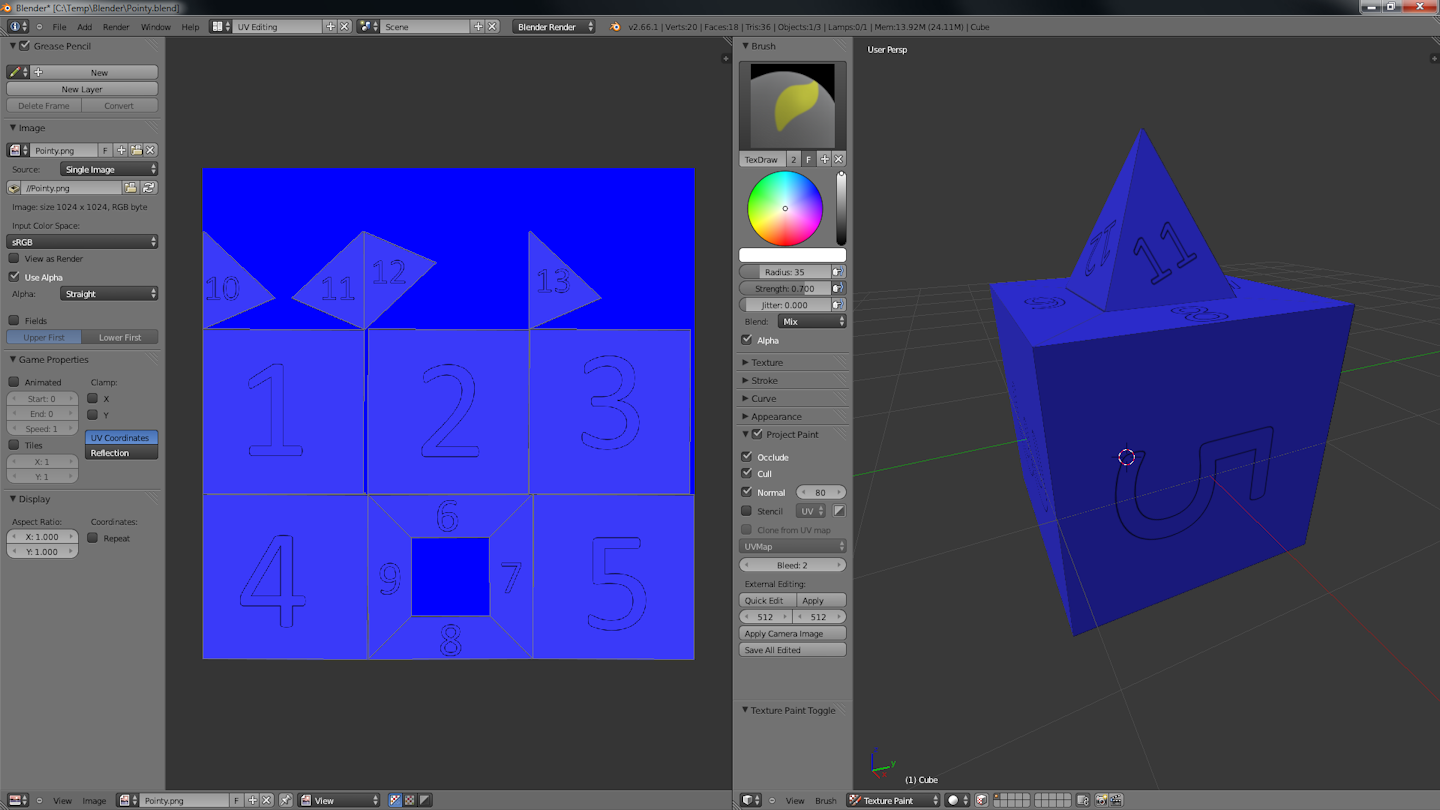
- To reimport the UV PNG, select "image" from the bottom menu bar and then
"Open Image".
- To apply the the UV PNG in Blender, select "Texture Pain" from the Mode
drop down on bottom menu bar, and that the "Mesh Tools" section in the
middle column is expanded.
- Tips
- When shift-clicking to selecting face, try to click near the dot at the center of
the face to avoid strange selection behavior
Seams
Authored: 5/10/2014 Last Updated: 5/10/2014
- "Unwrap" -> "Smart UV Project" seems to remove the need to manually
assign seams
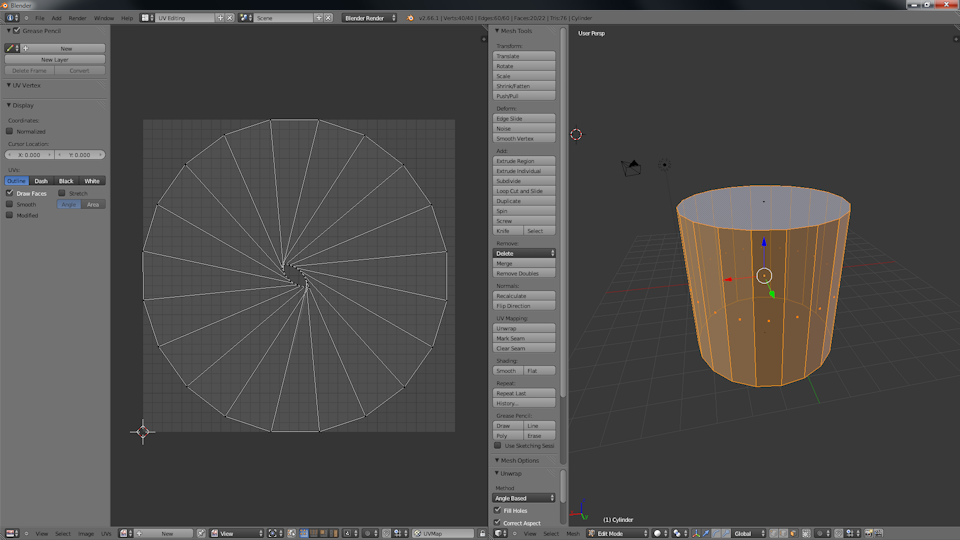
- The problem seams solve can be show by creating a cylinder, selecting all the faces
except the caps, and selecting "Unwrap" -> "Unwrap" (rather
than "Unwrap" -> "Smart UV Project"):
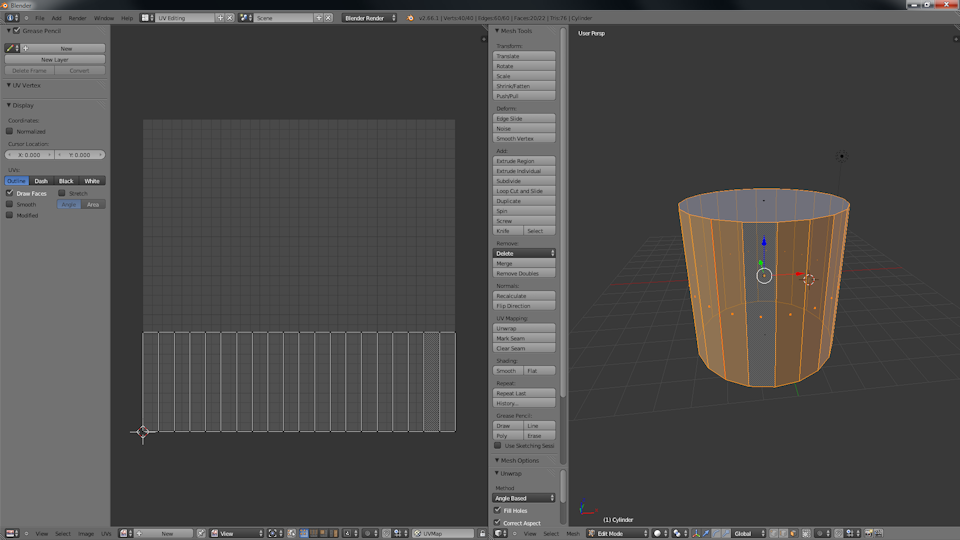
- To create a seam, switch to Edge Select, right click on an edge, then click Mark
Seam under Mesh Tools in the middle column. Unwrap again, and the results are better:
UV Optimizing
Authored: 5/10/2014 Last Updated: 5/10/2014
- Faces can share areas of the UV map (or even overlap). For example, a stone cube
could map all 6 faces to the same area of the UV
- If a face will never be seen (e.g. the bottom of an chest), it can be omitted from
the UV
- The area allocated on the UV does not have to take the same proportion of the UV
that the area takes on the model. For example, the UV for a book might allocate
relatively more space to the written page area.
These are all set up by editing the areas marked out in the UV in Blender:
- Remove duplication
- Set "UV Selecton and Edit Mode" radio button on the bottom left toolbar
to "Face"
- Set "Sticky Selection Mode" on the bottom left toolbar to "Disabled"
- This mouse UX here is a bit odd: For each duplicate face, right click to select
then (with right click still held down) drag the face over the top of the face it
is duplicating, release the right click, and then left click to drop. Note that
the stack does not have to be particularly neatly aligned.
- Select all the objects in the pile (though B+lasso for example), press W, then select
"Remove Duplicate UVs" from the displayed menu.
- Selected UV faces can be scaled (S key) or rotated (R key) as needed.
IDE
Create: 5/10/2014 Last Updated: 5/10/2014
- IDE
- Camera
- Rotate camera: Middle mouse button & drag
- Pan camera: Left Shift + Middle mouse button & drag
- Zoom in/out: Mouse wheel
- Object Mode
- Select: Right click
- Delete selected object: Del key
- Cursor (looks a bit like a life ring)
- Right click to set position
- Reset to center of 3d world: Space -> Snap Cursor to center
- Delete selected object: Del key
- Keyboard Shortcuts
- Tab - Toggle between Object & Edit mode
- A - Toggle select all / nothing
- B - Border (select by lassoing) selection
- C - Circle (select by painting) selectcion
- CtrL+I - Invert selection (need to hit ESC or right-bclick first if actively in
C mode)
- E - Extrude
- Basic Shapes
- Menu bar -> Add -> Mesh -> [basic shape]
- Post add, shape can be geometrically edited through Object Tools panel (for example,
the cylinder mesh defaults to 32 vertices. Drop this to 6 to make it hexagon shaped).
When the add operation is complete, the option to geometrically edit the shape is
gone.
Bitmap to 3D
Authored: 5/17/2014 Last Updated: 5/17/2014
Inkscape
-
Load bitmap image into Inkscape (File -> Import...)/li>
- With bitmap selected on page:
- From the menu bar: Path -> Trace a bitmap
- Click Update (may not show anything (or just a white box) but usually works)
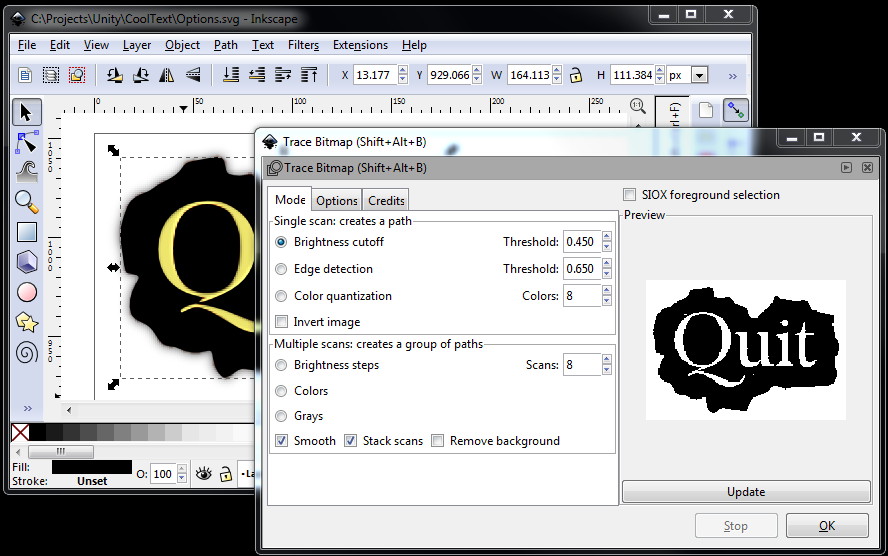
- Click OK (note: doesn't appear to do anything, but it actaully creates a second
object on the page over the bitmap)
- Close window
- Move the created object & delete the original bitmap from under it
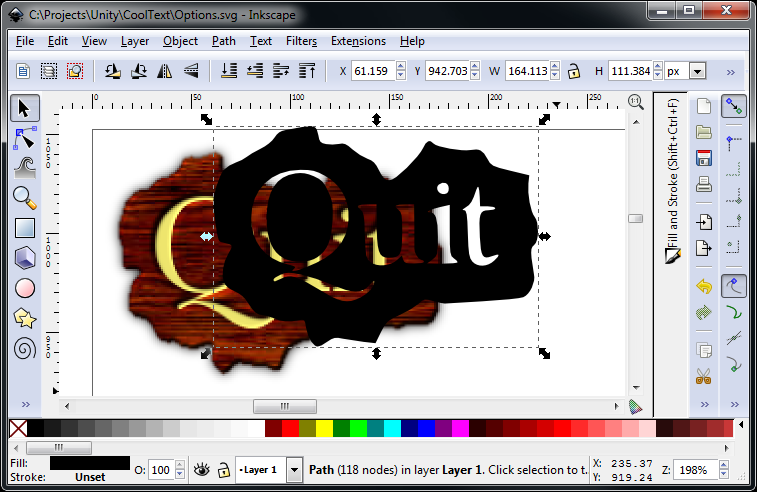
- Delete inner nodes as desired/needed
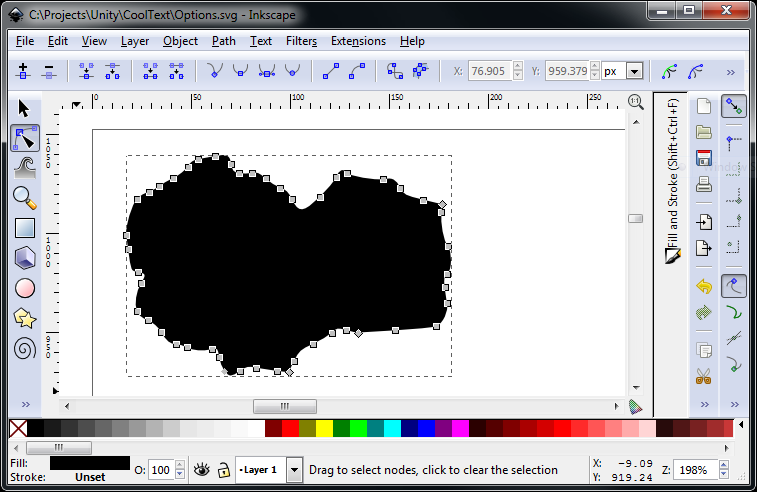
- Save as Plain SVG (not Inkscape SVG)
Blender
- From Menu: File -> Import -> SVG...
This imports the SVG as a curve
- Select All (A)
- From left toolbar: Object Tools -> Transform -> Geometry to Origin
This centers the middle of the SVG on all axises
- Make sure you are in Object mode, then from the bottom toolbar select the Object
menu -> Convert to -> Mesh from Curve/Meta/Surf/Text
- Extrude
- The created 3d objecthas way too many faces & vertices. See the section
on Reduction.

UV Map as usual
Results
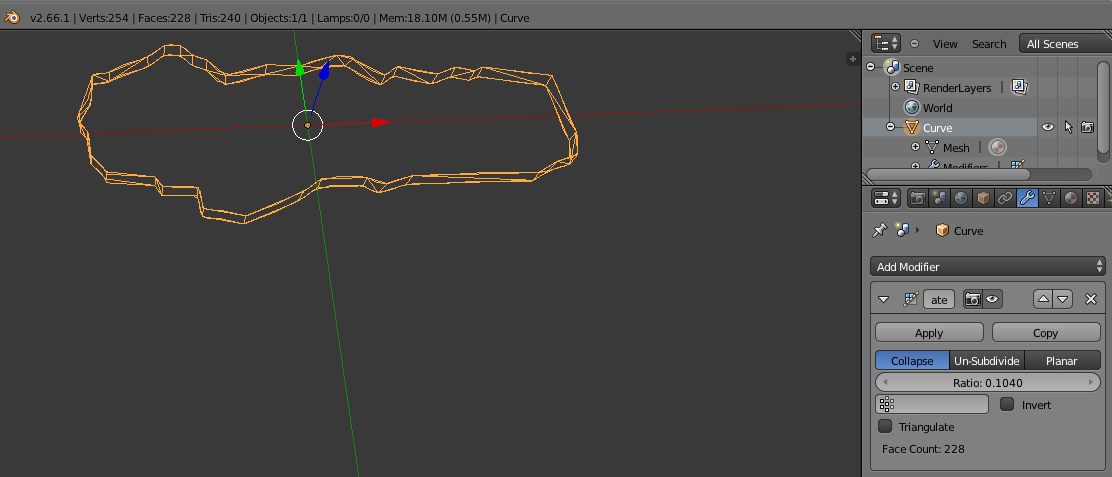
Reducing Face & Vertex counts
Authored: 5/17/2014 Last Updated: 5/17/2014
- Select the whole object
- From the right toolbar, select the Object Modified button, then Add Modifer, then
decimate
- Select ratio (0 - 1 where 0 = remove 100%) and click Apply
Links
Authored: 5/10/2014 Last Updated: 5/10/2014